How to change Facebook Group Name using Mobile or Computer
Do you have a Facebook Group and you want to change the name of your Group? Welcome you are on the right post. We are going to walk you through a step-by-step process, whether you try to change the name from your Mobile app or by Computer.
Before process with the article, you cannot change the Facebook Group name if
- You are not an admin of the Group
- Group is having more than 5,000 members (You can change the Group name if it has fewer than 5,000 members). Facebook does not allow admins to change a group’s name when the group reaches 5,000 members. This is because members and group descriptions are visible to anyone and Facebook considers it as a part of someone’s identity on Facebook.
Change Facebook Group name using Mobile
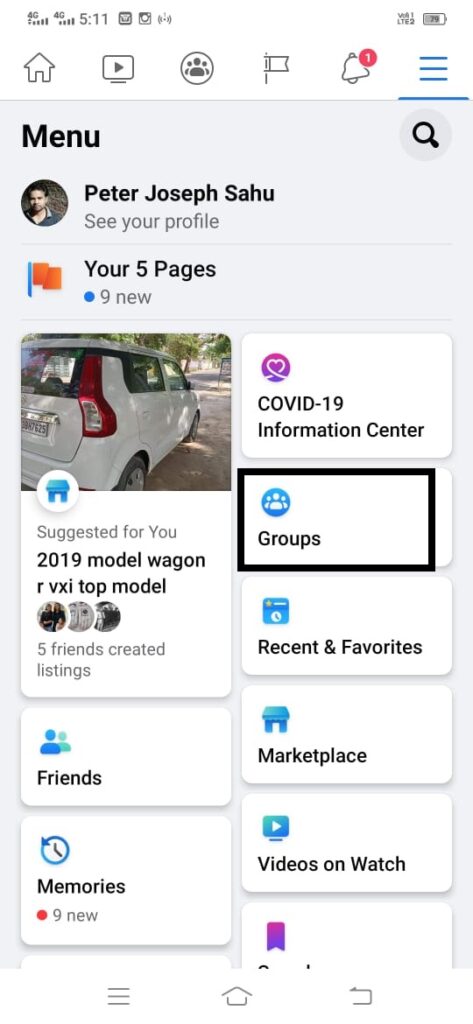
Step 1: Launch the Facebook app on your mobile and tap on three lines shown on the top right of the page, then tap “Groups”.


Step 2: Tap on the Group icon (As you see the Group name is “World of Cricket” as of now, and we will change it to “Cricket World”), then tap on a top-right sign as shown in the below image and Scroll the page down to “Settings” and tap on it.

Step 3: Under Basic Group Info, tap the “Name and Description” option.

Step 4: Under Group Name – You can change the name of the Group to “Cricket World” and tap “Save”.

 That’s it, you have successfully changed the Group name using your Mobile app.
Change Facebook Group name using Computer (Desktop or Laptop)
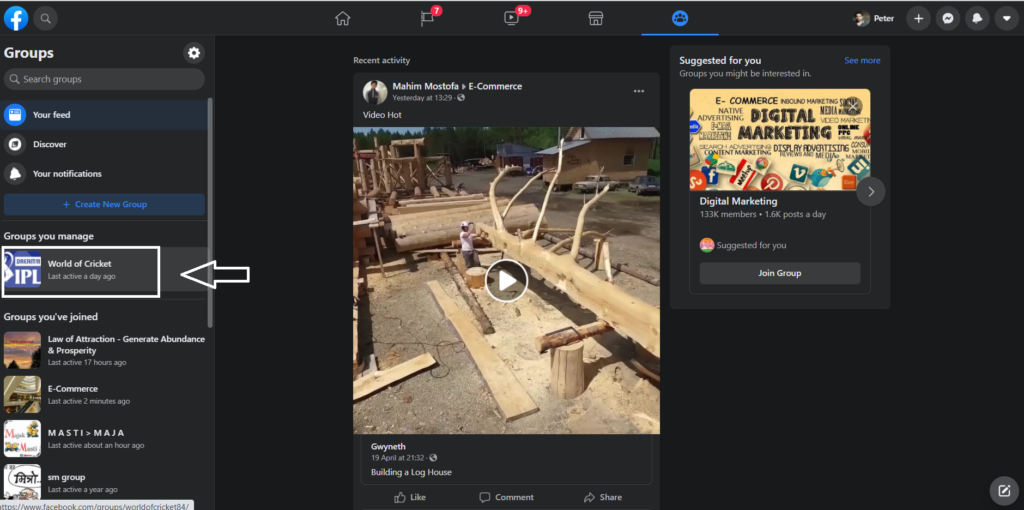
Step 1: Log in to Facebook, and you will find the “Groups” icon on the left side of the page. Click on it.

Step 2: Select the Group to change the name.

Step 3: Under “Admin Tools” you will find a “Settings” option, click on it.

Step 4: Under “Set up group”, click on the “Edit” sign mention right before “Name and description”.

Step 5: Now, you can change the name of the Group to “Cricket World” and “Save”.

So, it’s all done.
Also, please make a note that you can’t change the group’s name more than once every 28 days.
Leave a Reply